

How can we help you?
Audio Recording
Save time and increase efficiency in meetings and task management with audio recording.
Beenote provides you with a recording function in automatic or manual mode. Don’t waste any more time writing content, record all the information and lose nothing!
Note that audio recording is not functional in virtual mode.
You will find in this article:
Equipment
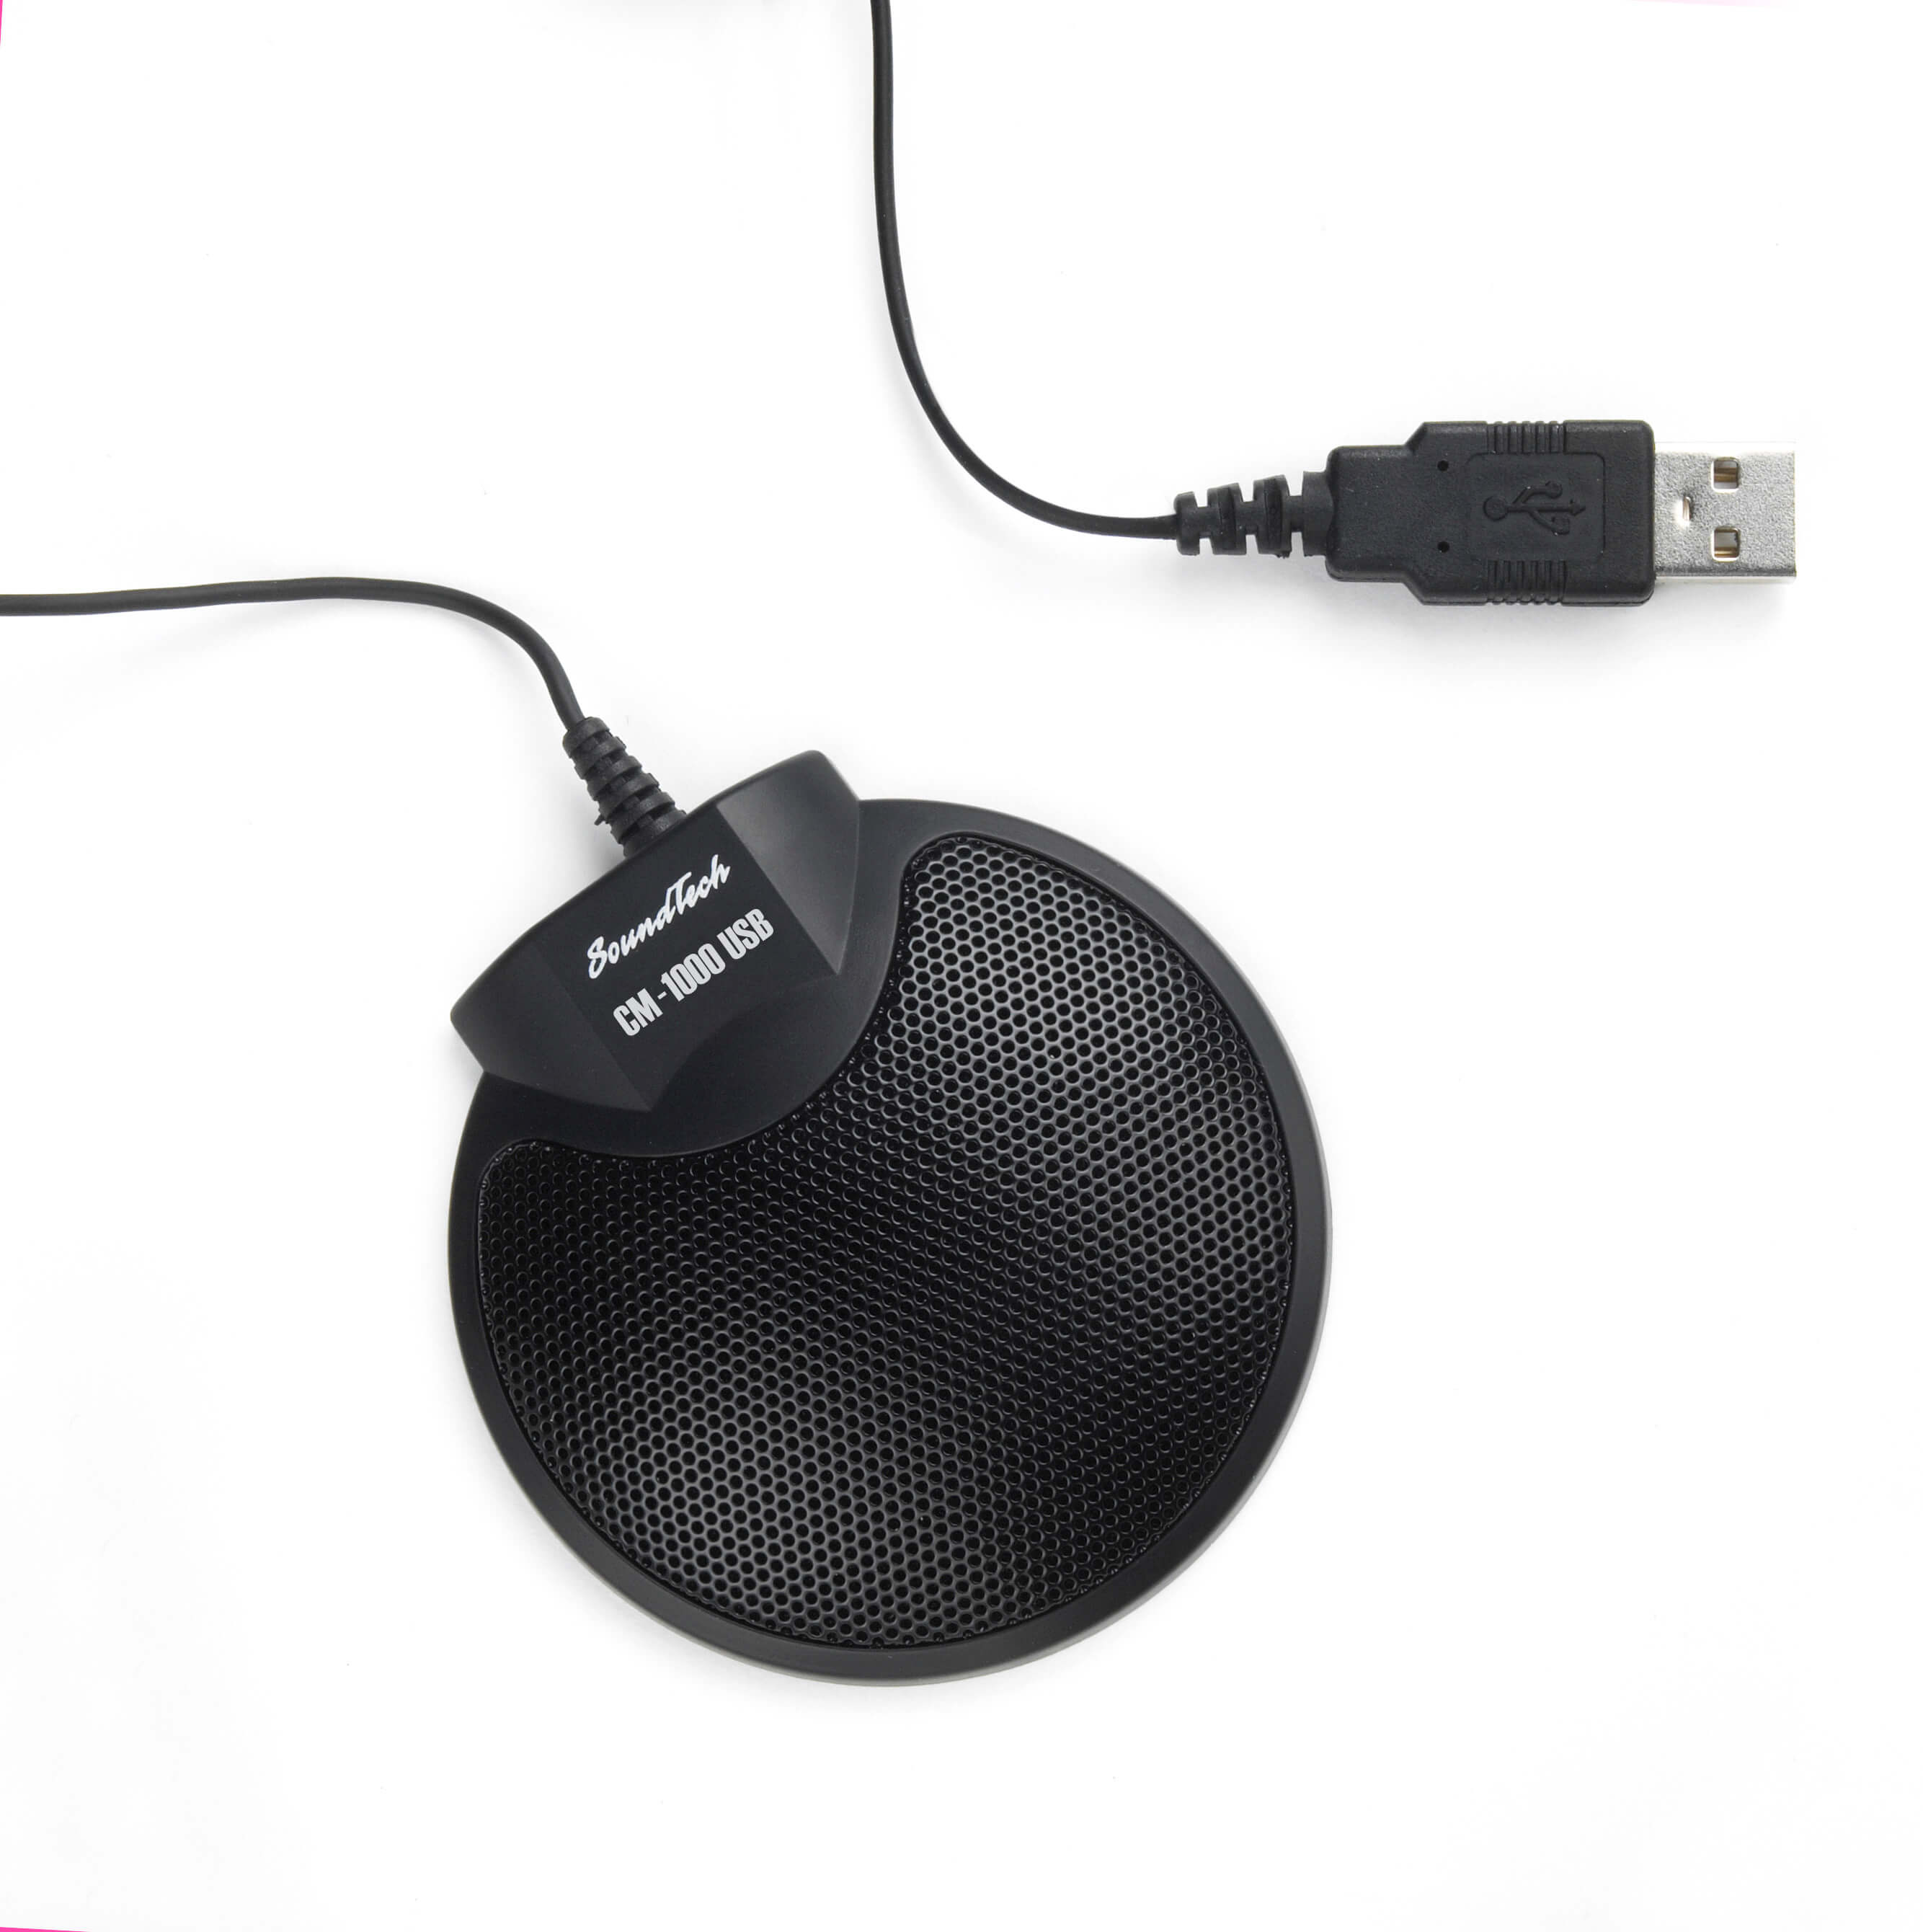
You can record your meeting with the original microphone included in your smartphone, tablet or computer.
However, you should be aware that a computer’s microphone is pointed in one direction only. People who are far away, in a direction opposite to the microphone, or who have a weak voice may not be recorded.
In order to improve your recording experience with Beenote, it is strongly recommended that you use a high-quality microphone so that you can fully understand all of the stakeholders in your meeting and, therefore, accurately write your minutes.
Depending on the size of the room and the number of people in the room, you may use 1 to 6 microphones to meet your audio recording needs.

Blog you might like: Why should you record your meetings? 13 reasons
Allow automatic audio recording
What does that mean? It’s simple! Automatic audio recording allows you to record your meeting from the beginning by clicking on a single icon.
In order to use the automatic audio recording feature in a meeting, you must first have authorized Beenote to record.
Haven’t you already done so? Follow this simple procedure to do so:
Note: First make sure your microphone is working properly in your operating system before starting the next step.
1. Go to the My profile tab from the drop-down menu on the right.

2. Press the microphone to the right of Automatic Record. Make sure the icon is no longer hatched. It should look like this ![]() for audio recording to work.
for audio recording to work.
Save this change by clicking Save in the lower right corner of the page.
Note: This configuration can be changed at any time (before or during the meeting). At the next meeting, the configuration previously set will be the one defined.
Audio recording in meetings
In order not to lose any of the information said in the meeting and to facilitate the writing of your minutes, you have two choices:
-Automatic recording
-Manual recording
Automatic recording
If you have previously activated automatic recording as mentioned earlier in this article, you will be able to start recording your meeting as soon as it begins. The recording configuration is already set up. So, there are no further steps!
Also, with this type of recording, both the topics discussed, and the notes, tasks and decisions are recorded automatically.
Indeed, you can record up to 30 minutes per subject if you use Chrome or Firefox.
However, if you use Edge or Safari, you will have 15 minutes of recording time per subject.
Note: If you accidentally forget to start recording your meeting at the beginning, you can start the automatic recording after the meeting has started.
Unfortunately, the item in progress at the time you click on the recording icon will not be recorded. The recording will start at the next point.
Click on the microphone icon![]() in the option bar at the top of your screen.
in the option bar at the top of your screen.
Manual recording
If you choose not to allow automatic recording, you can still make a manual recording.
When you start a scheduled meeting or an immediate meeting, you can record the full content of your meeting by clicking on the grey microphone ![]() icon in the option bar at the top of the page.
icon in the option bar at the top of the page.
Or, you can select the segments of the meeting you wish to record. That is, you will have to click on the microphone icon![]() at each of the items, notes, tasks, and decisions sections for the recording to take place
at each of the items, notes, tasks, and decisions sections for the recording to take place
Audio recording for assigning a task
You have a task to assign and it has many details? Dictate all the information you need to complete the task with Beenote’s audio recording feature.
Assign a task outside of a meeting
You can assign a task outside of the meeting. To do this:
1.From your Beespace, go to your task board at the bottom of your screen.
2.Click on the plus icon ![]() to the right of My Tasks. And, create a new task.
to the right of My Tasks. And, create a new task.
3.To record a message, click this icon![]() , then dictate. It’s quick and easy!
, then dictate. It’s quick and easy!
4.Finally, click Save.
Use of recordings
Note: It is not possible to export or download recordings. Beenote does not allow this.
The recordings are available for listening only.
However, it is possible to delete them if they are no longer useful to you. Anyone with editing rights to the report can do so, the leader and partners.
Next step, Attendance Management.